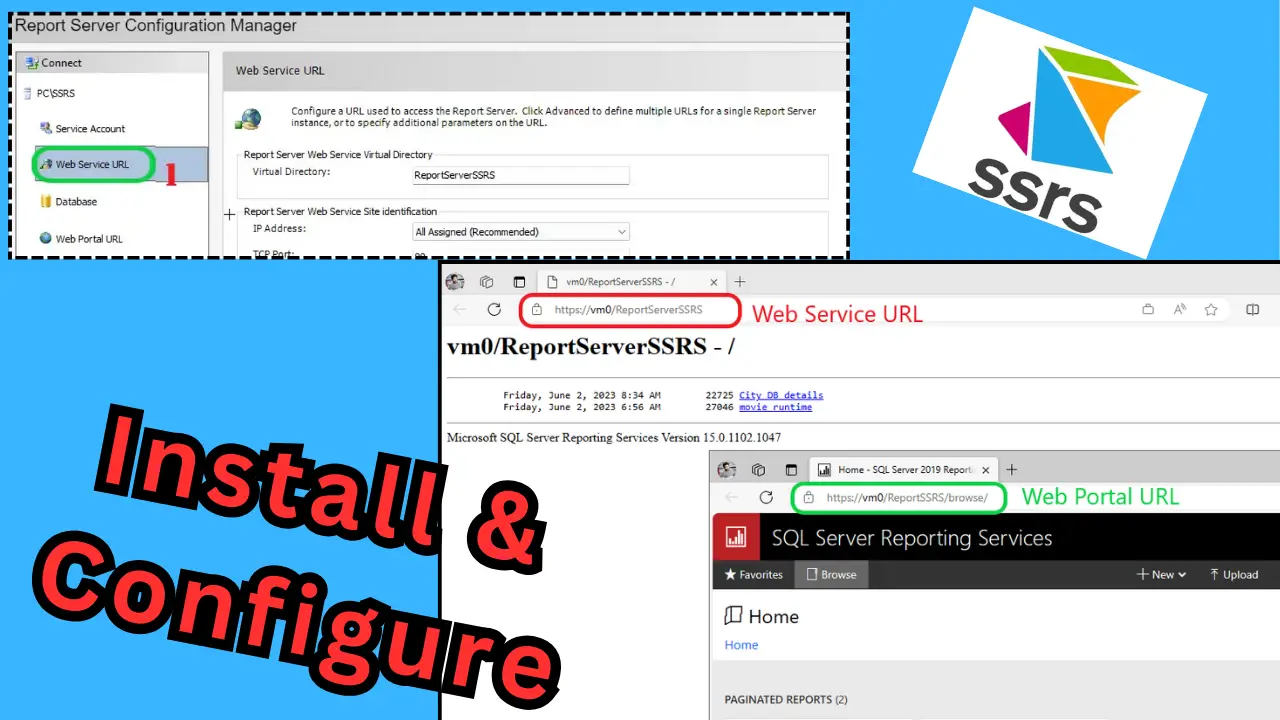
SSRS/PBIRS: In this article we will see how we can download, install and configure the report server locally. The article has basic installation on the SSRS/PBIRS with Web Server and Web Portal URL’s.
If your aware of the report server then we 2 different option’s provided by Microsoft (PBIRS & SSRS). Both functions similarly when it comes to reporting server, there is no much difference in PBIRS/SSRS.
For more about this appicaion you can visit this Microsoft Sites: https://learn.microsoft.com/en-us/power-bi/report-server/get-started & https://learn.microsoft.com/en-us/sql/reporting-services/create-deploy-and-manage-mobile-and-paginated-reports?view=sql-server-ver16
Steps to configure SSRS/PBIRS
Step 1: Go to download link mentioned below, to download the latest version the SSRS/PBIRS. Also, you can manually type in google and search it.

Step 2: You will land on this page and download the latest report server.

Step 3: After downloading we will RUN the setup and proceed further on the installation. Click on “Install Reporting Services”

Step 4: I will select “Developer Edition” if you want you can go for Evaluation version which is for 180 days. Also if you have SQL Server License then you can use the product key here. Note: PBIRS don’t support SQL Server product key.

Step 5: Agree to all the terms and conditions and click on next.

Step 6: You can see the Install Database Engine and click on next from here.

Step 7: Select the location you want to install and you can use the default location as you can see in my case.

Step 8: The installation process will start and after that you will see “Configure Report Server”. Just click on Configure report Server.

Step 9: Now you can see that Server Name is: PC and Report Server Instance name is: SSRS, If you have installed PBIRS then you will see PBIRS here!

Step 10. Now we are at home page of SSRS, here we can see the basic details of the SSRS like Version, Edition etc. : If you see in the above image, we will focus on 3-options: Web Portal URL, Database and Web Portal URL to configure the SSRS URL’s.

Step 11: We will select Web Service URL and just click on apply to use the default the URL for http.

Step 12: Now we will configure the report server database where all this reports will be hosted with in SQL Server in the backend.
Note: If you don’t have SQL Server installed in your Machine or VM follow the below document to install and configure the SQL Server. Link: SQL Server 2022 Download, Install, Connect Using SSMS Tool (kingfishertechtips.in)
Step 12a: Got to “DATABASE” and click on “Change Database”

Step 12b: Click on “Create a new report server database” and then next.

Step 12c: Give the SQL Server name where you want to host all your report server Database and click on test connection. If you don’t have then create one by going to this below link.
Link: SQL Server 2022 Download, Install, Connect Using SSMS Tool (kingfishertechtips.in)

Step 12d: You can give manual name or leave it by default as it is there and click on next.

Step 12e: Leave it by default or you can change depending on your requirement. click on next.

Step 12f: All the things has been installed and later click on finish.

Step 12g: As you can see that I have configured the Report Server Database and it now configured successfully.

Step 13: Now we will go to Web Portal URL and click on apply at the bottom, then the URL will be configured and visible here in the SSRS.

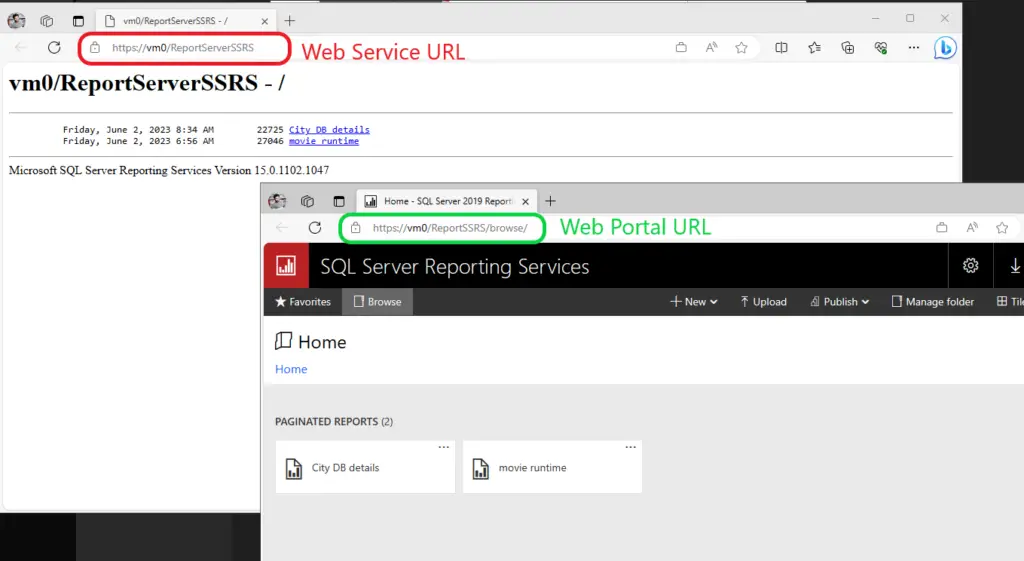
Step 14: Now we are all set to Browse the Report server URL’s. Now I will open the report server URL and you can see that I have successfully landed on the home page of the SSRS. Now I can upload the reports and browse here with this URL’s.

Watch Video!
SQL Bi Links:
- Could Not Load Folder Contents In Portal URLs – SSRSPBIRS (kingfishertechtips.in)
- Capture Fiddler Trace for Debugging the Network Traffic (kingfishertechtips.in)
- On-Premises Gateway: Configure/Map SQL DB To Power Bi (kingfishertechtips.in)
- Fixed Column/Row Header Make Visible In Any Report (kingfishertechtips.in)
- Self-Signed Certificate: Configure SSRS/PBIRS With SSL (kingfishertechtips.in)
- Run As Different User Option Not Showing, Enable In Windows (kingfishertechtips.in)
- Create Local User Account/Local Admin User In Windows 10/11 (kingfishertechtips.in)
- Login With AAD/Domain/Microsoft Account To Azure VM’s/RDP (kingfishertechtips.in)
