Install MySQL on Windows: We are going to see the download and installation of MySQL and MySQL Workbench on Windows machines; all the steps are shown below will give you clear idea on how to “MySQL Install” with clear explanation.
MySQL Download?
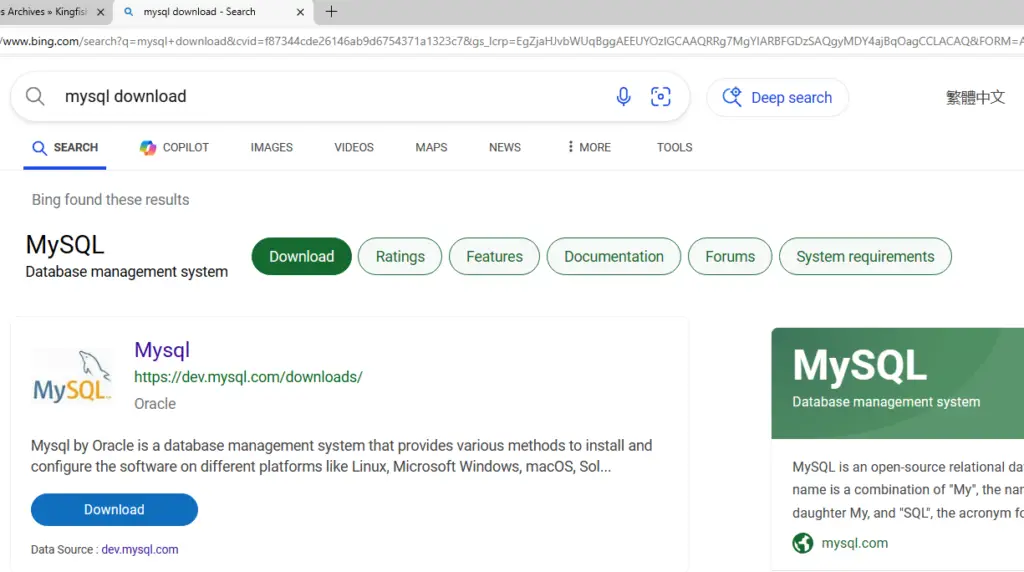
Step 1: Go to your search console and browse for “MySQL” you will see this below search results, click on the first link or you can directly click here!
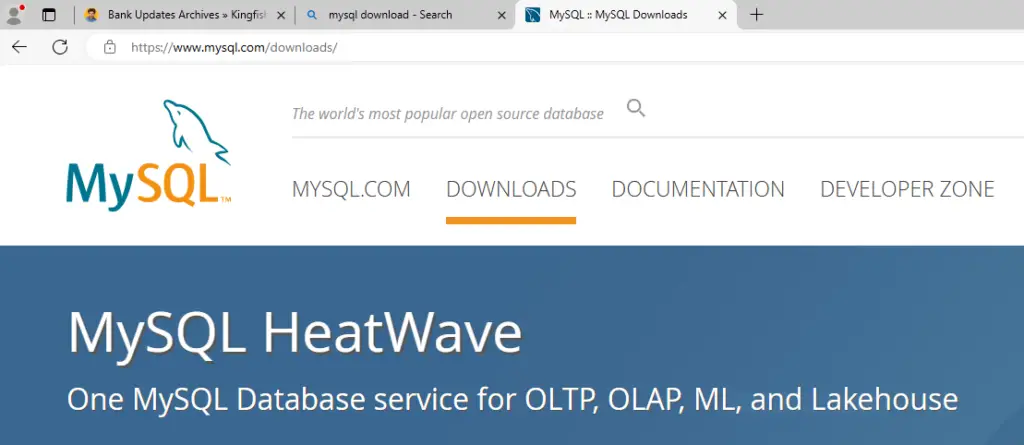
Step 2: If you have directly clicked on the link above then you will be re-directed to this page. Once the home page is loaded, click on the “DOWNLOAD” option from the menu bar.
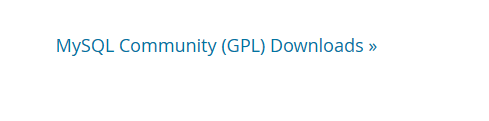
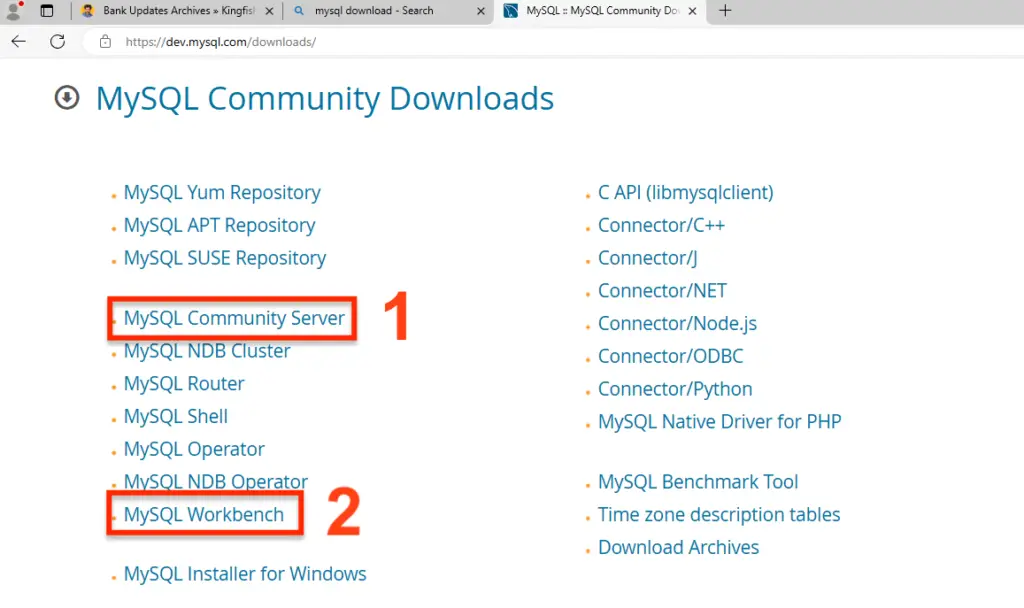
Step 3: Scroll down to the bottom of the download page and you will find “MySQL Community (GPL) Download“
Step 4: Here, we have to download 2 things No.1 is MySQL Server and No.2 is MySQL Workbench. Click on 1st option and download the MySQL Server.
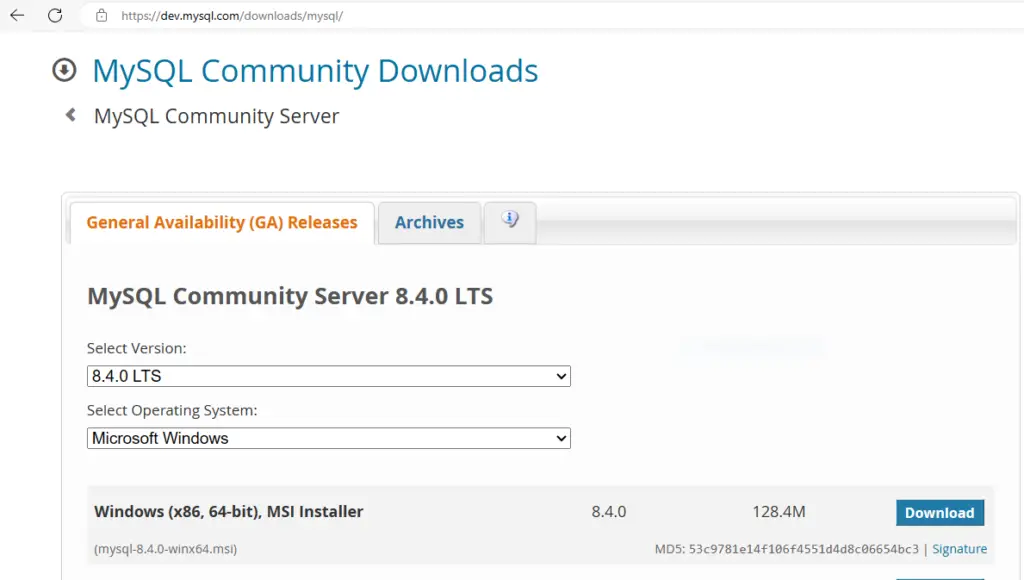
Step 5: On MySQL download page, everything will be auto selected to latest version, and you have to click on Download directly.
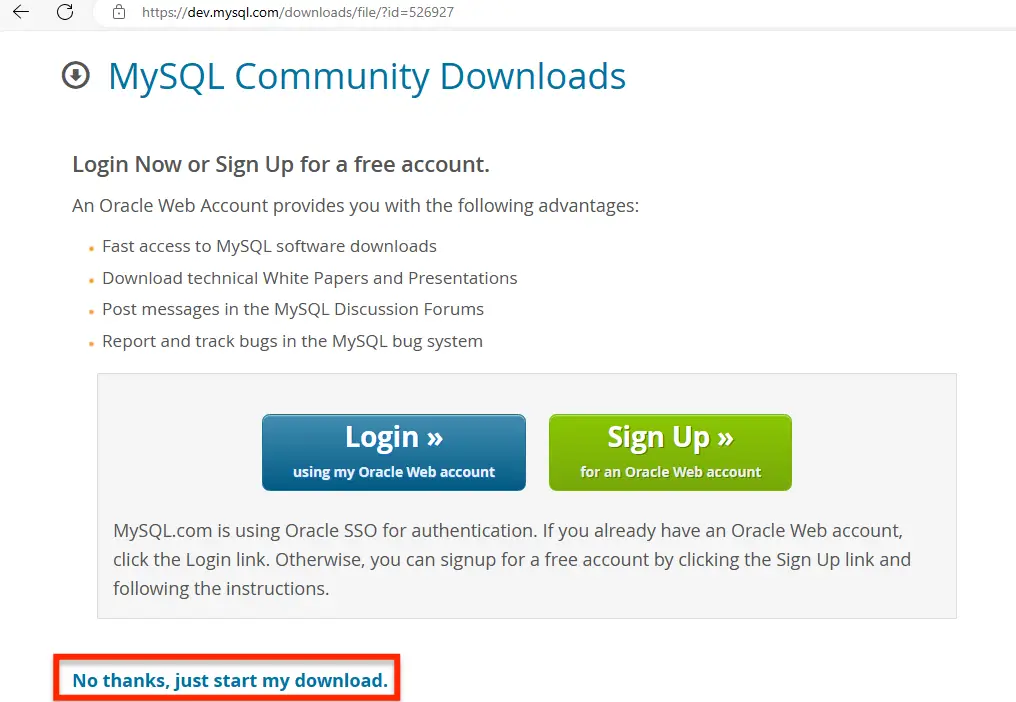
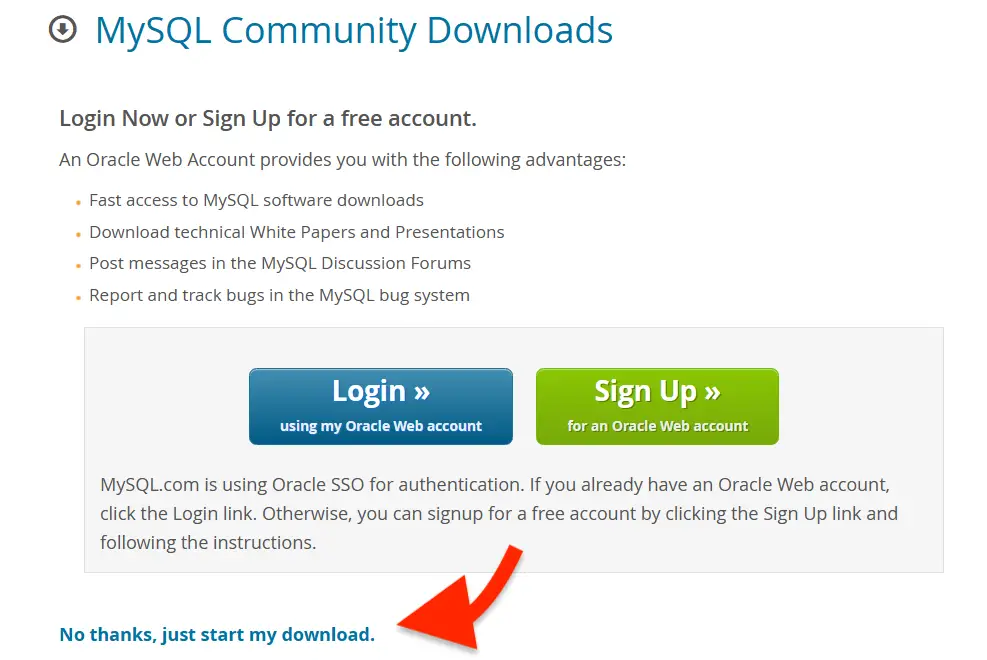
Step 6: Bottom of the page you can see SKIP option to leave the Sign-up page. Once you click the file will be downloaded and now, we will download the other file.
MySQL Workbench Download?
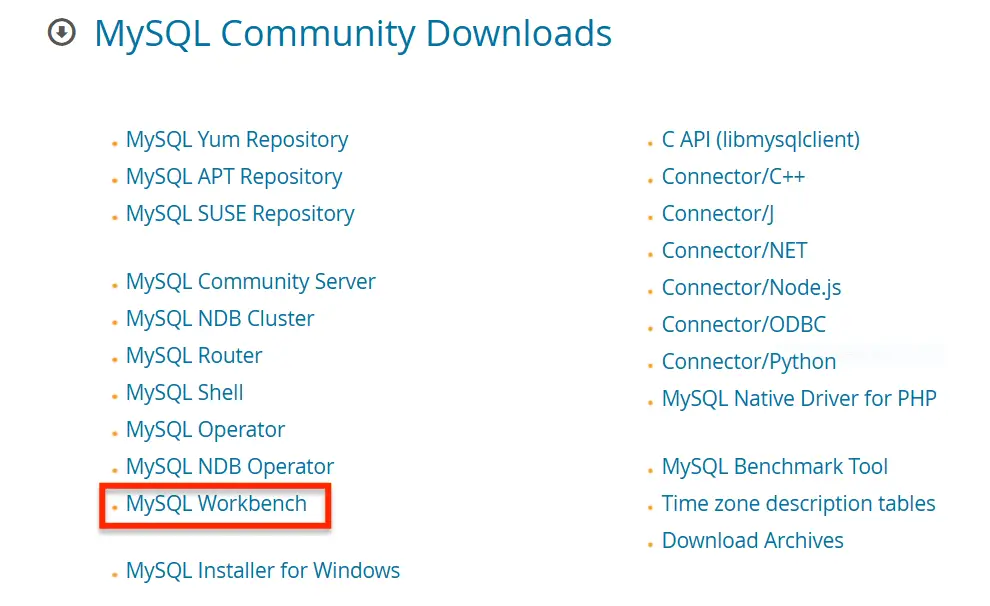
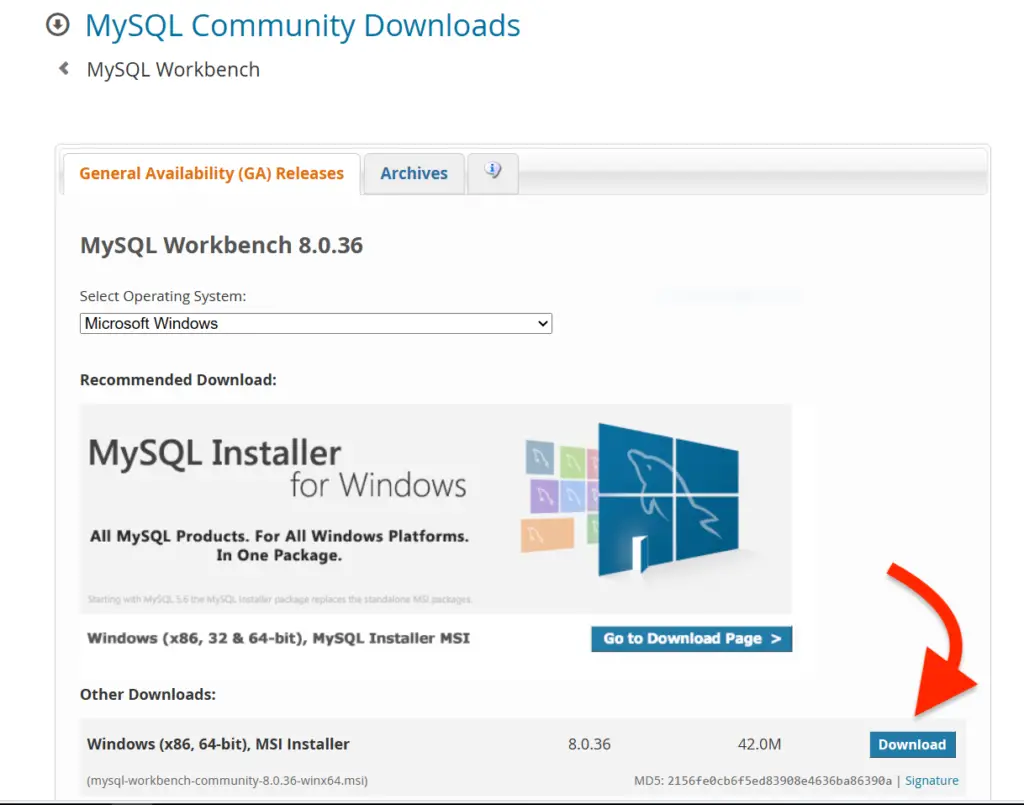
Step 1: Go back to MySQL community download page again and this time select the MySQL Workbench option, as highlighted in the below image.
Step 2: By default, the latest version will be selected, click on download until unless you are looking for some other version.
Step 3: Bottom of the page you can see SKIP option to leave the Sign-up page. Once you click the file will be downloaded and now, we will download the other file.
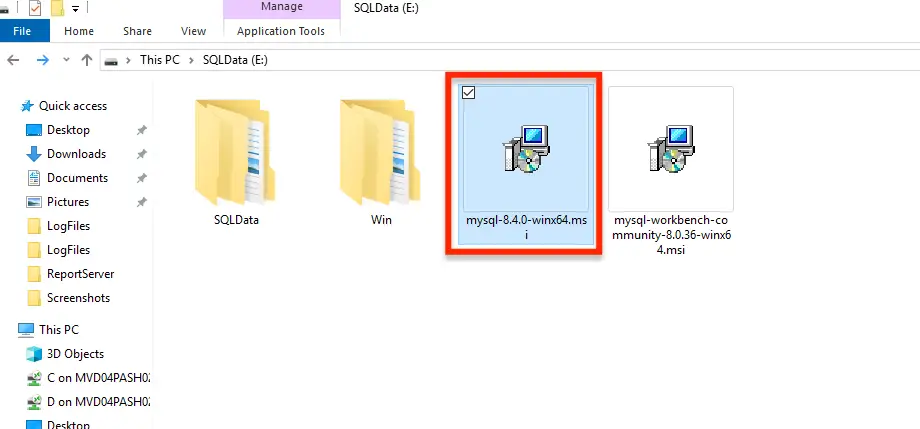
Now we have both the setup file ready with us and we will proceed further with the installation of MySQL Server and MySQL Workbench.
Install MySQL!
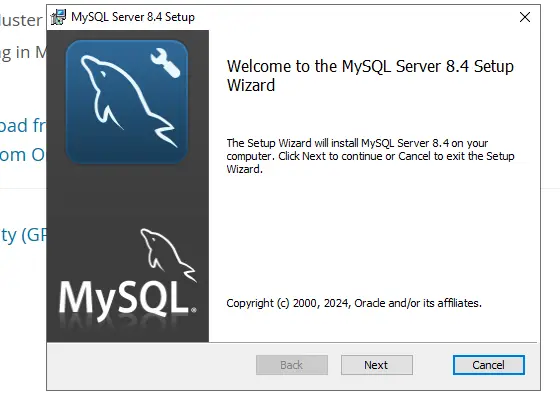
Step 1: Now we will proceed further with the installation of my sequel server as you can see below that I have run the set up and follow the set up wizard.
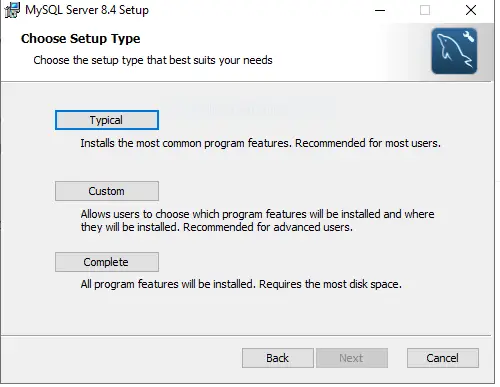
Step 2: Here will get an option to select three different options. You can choose any one of these. In my case. I will go with complete.
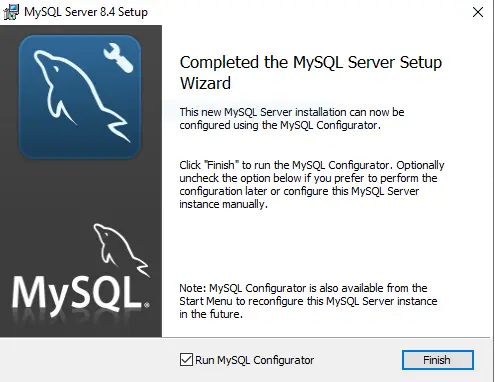
Step 3: The complete wizard will be successfully and check run my sequel configuration and click on finish
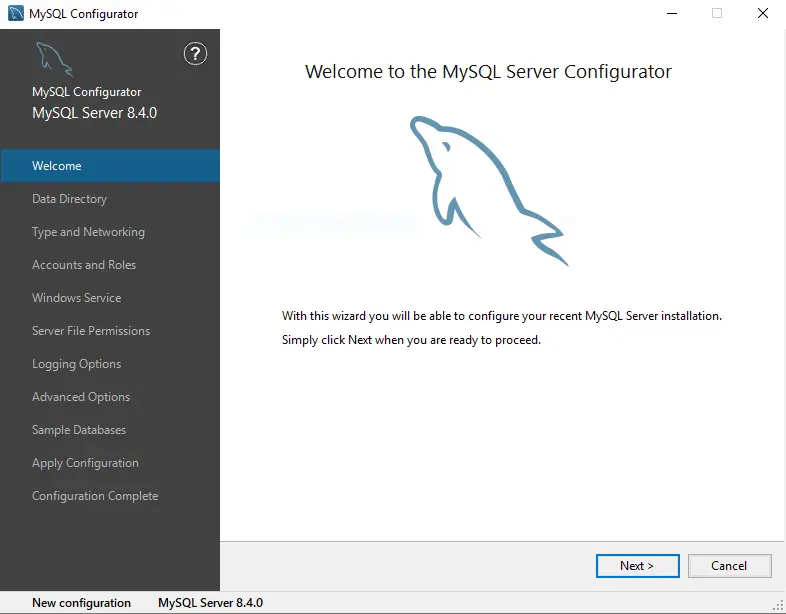
Step 4: As you can see, the setup has been started. Now we will proceed with all this steps which is mentioned in the left hand.
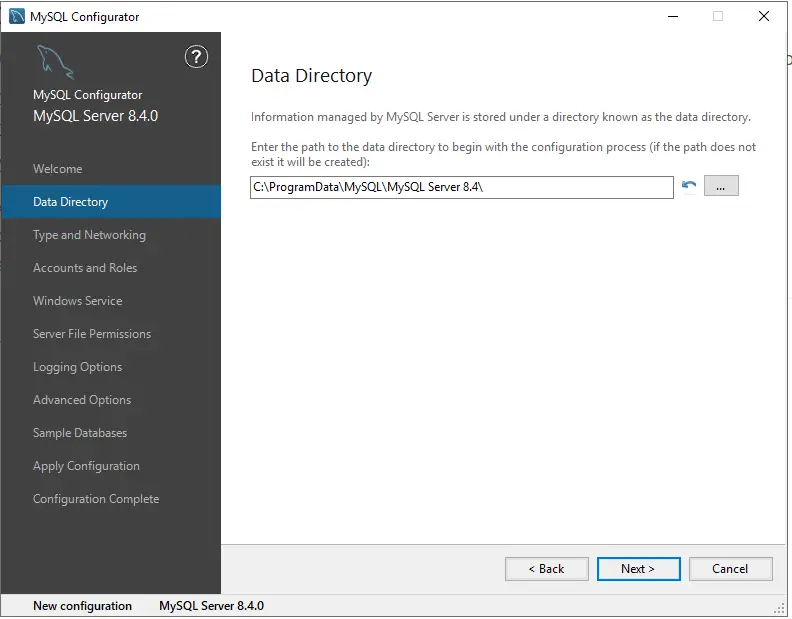
Step 5: Select the installation path in my case. I will leave it default. If you want to changes, please do it.
Step 6: Make sure you select development computer until unless you are doing it for your organisation or full fledged VM or server. by default, it will be selected and don’t make any changes until you are sure about it.
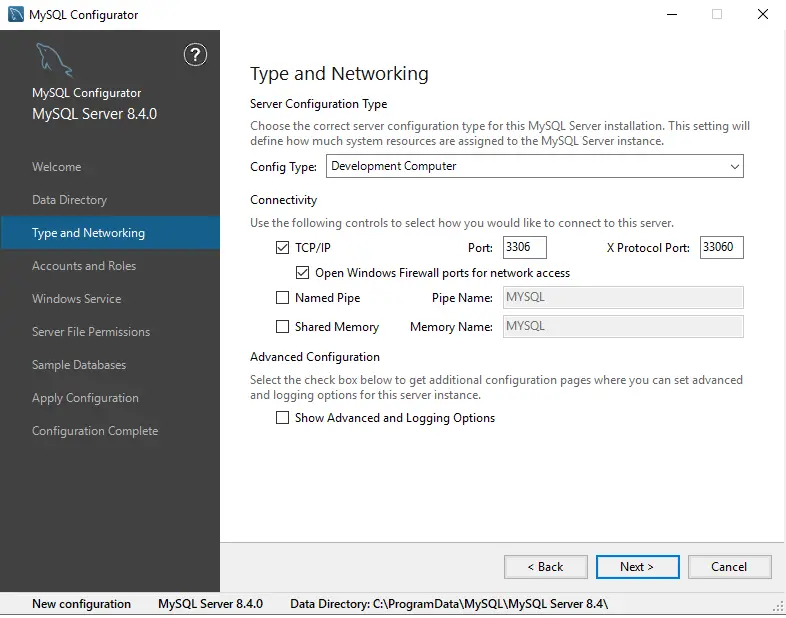
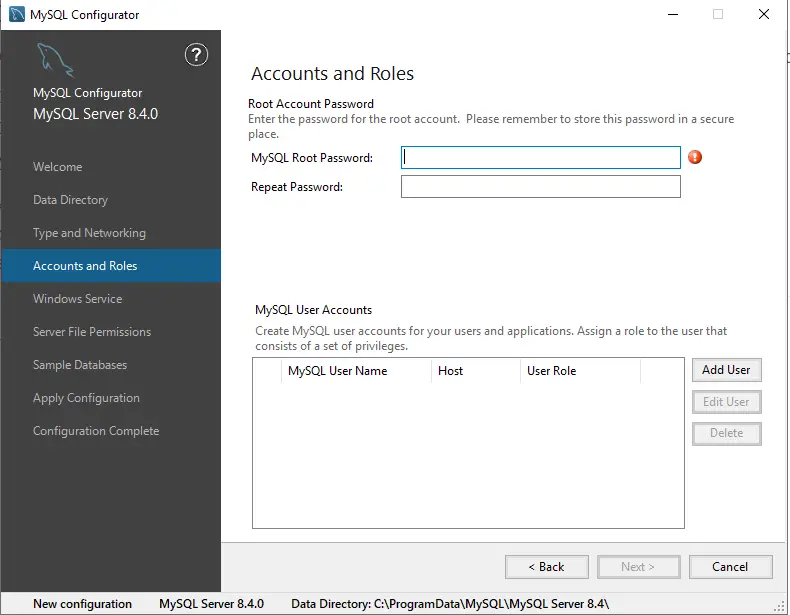
Step 7: The Main tricky part here is the password, so you have to give a password to access your my sequel server and no matter where you access this database. This route to input password is mandatory in all over application or terminal.
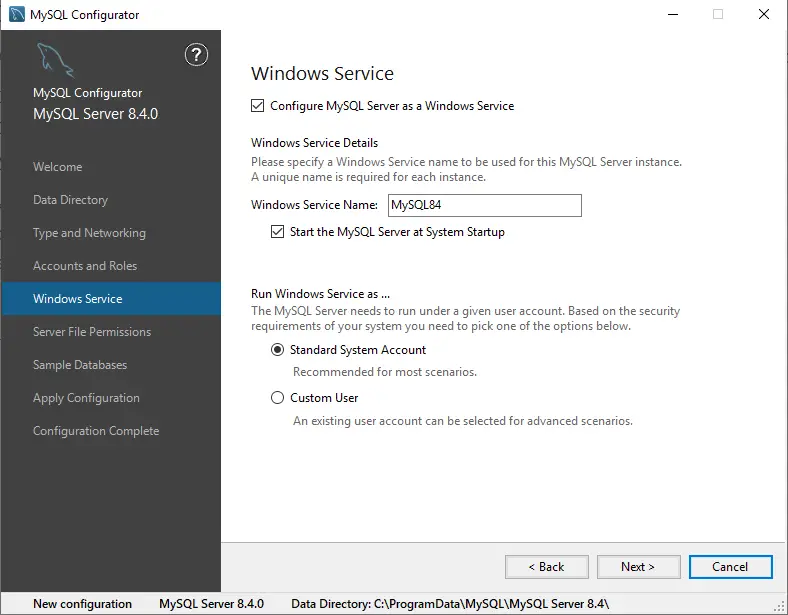
Step 8: Leave everything. Default is a default instance for my server.
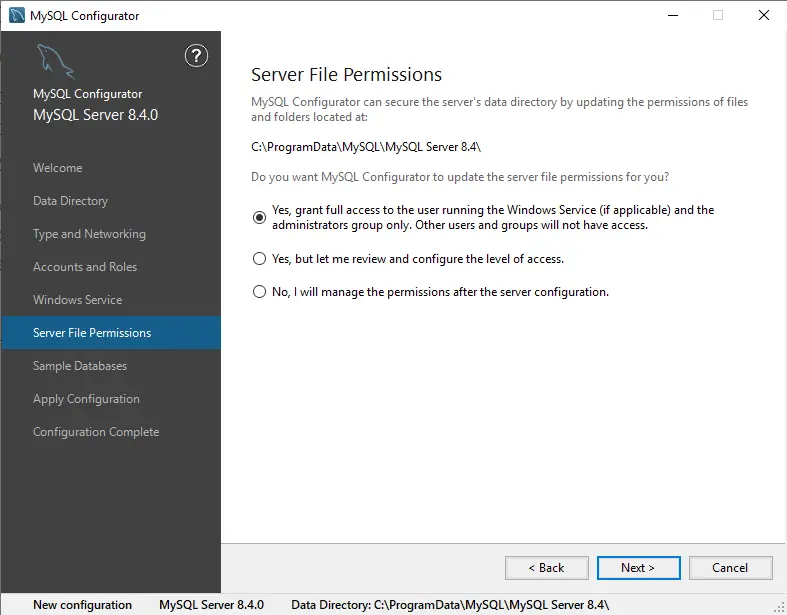
Step 9: Now here you can see, make sure you give access to your installation path of sequel, either first or second. It will be good if you select the first one.
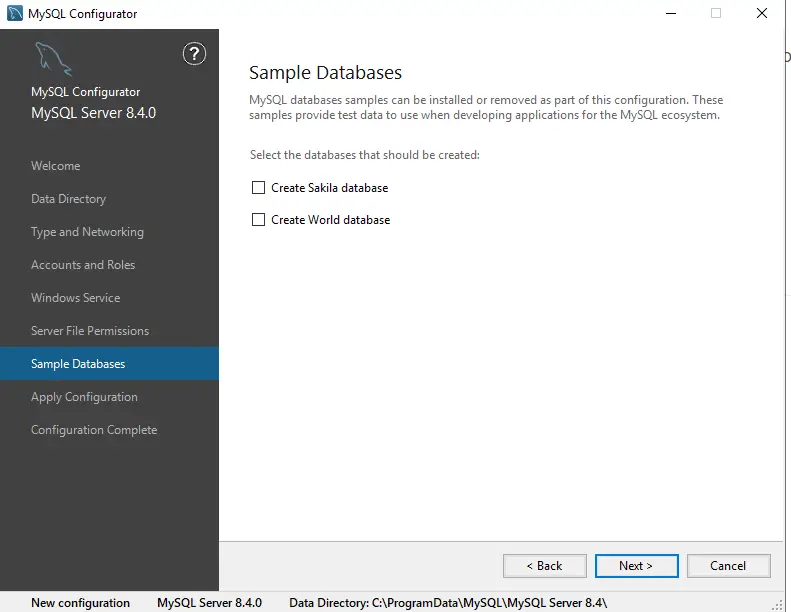
Step 10: Here get an option to load a sample. If you’re not sure what database to delete then you can skip this option because further on this sequel course, I will be giving you sample database and how to deal with that.
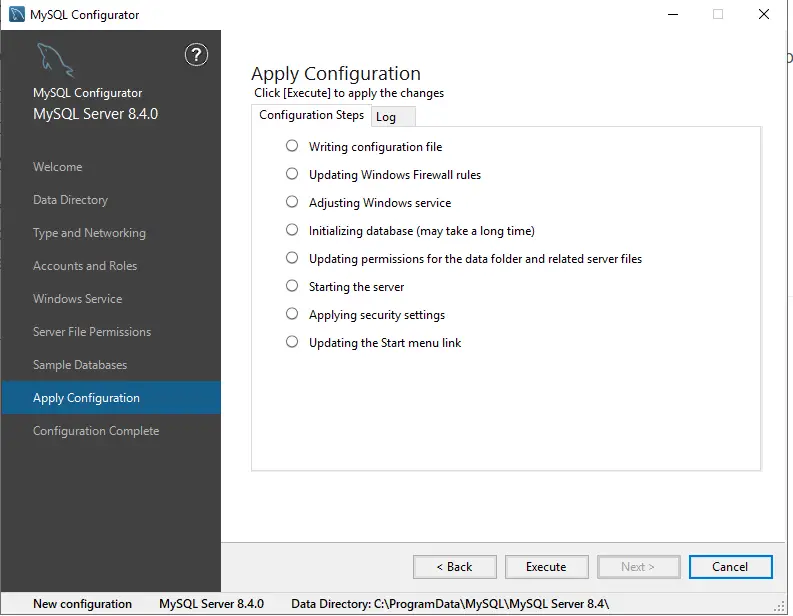
Step 11: As you can see all the complication has been successfully set up and the list of things available. So just click on execute and all the statement will get executed one by one.
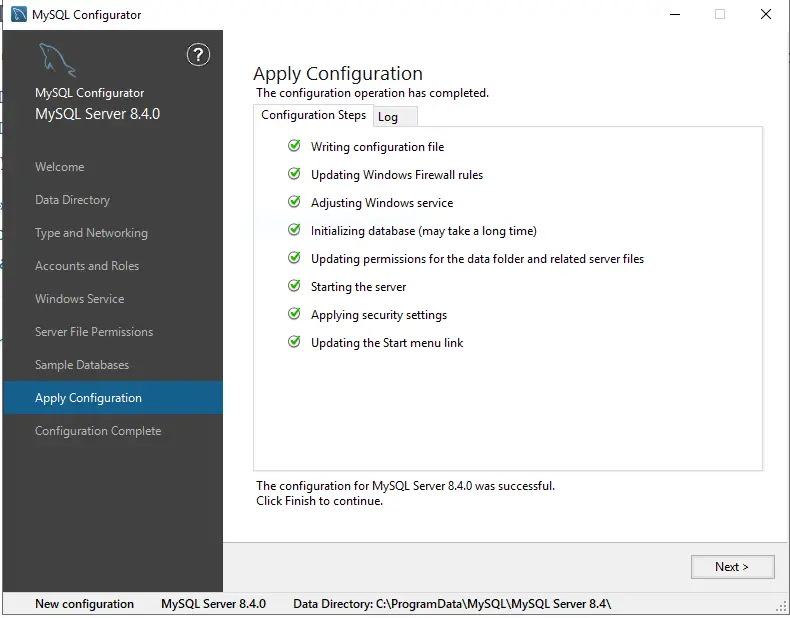
Step 12: As you can see that I have managed to successfully install all this list, and now we are good to go just click on next!
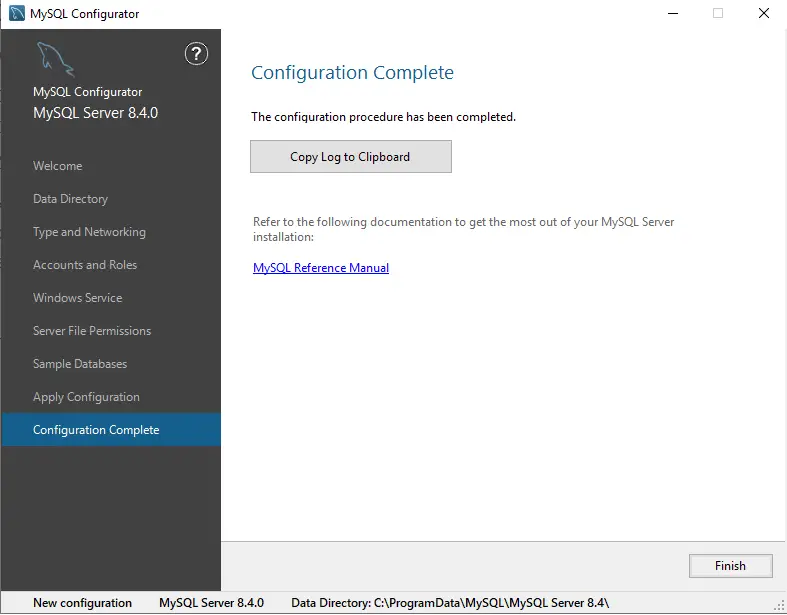
Step 13: We have successfully managed to install full fledged my sequel server. Now you can kill the set up of sequence by click on finish!
MySQL Workbench Install!
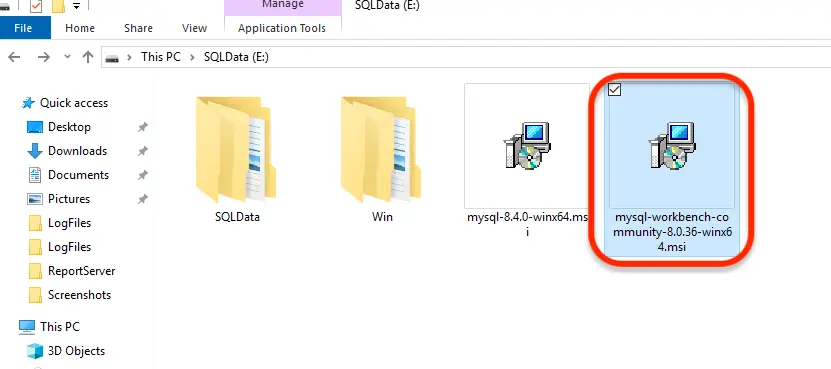
Step 1: As you know that we have downloaded two files, one was my sequel server, and the other was my sequel workbench, we have successfully managed to install my sequel server. Now we will install my sequel workbench by selecting the second set up file.
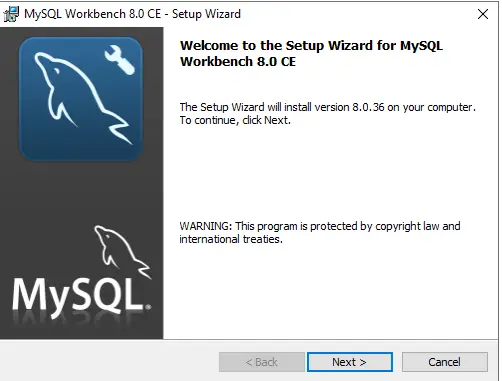
Step 2: Follow the wizard, just click on next
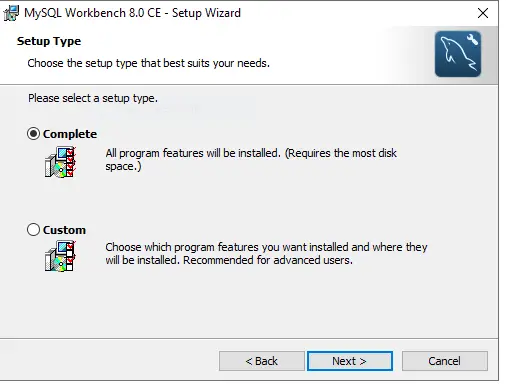
Step 3: You can choose any one of this option, depending on your requirement by default, customer will be selected, but you can select for complete if you want.
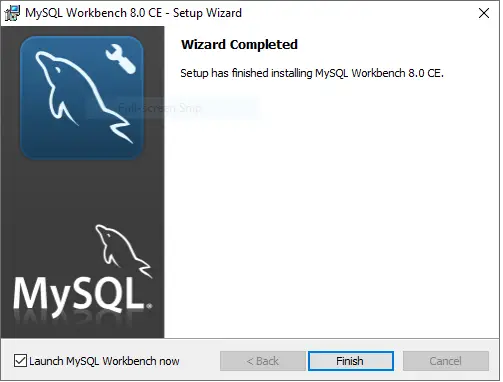
Step 4: Once the installation is successful, you can see there will be option to CHECK for launch MySQL Workbench now take the option and click on finish.
Step 5: As you can see, I am on MySQL Workbench homepage, and my default sequel server instance is visible here. SUPPOSE IF IT IS NOT VISIBLE TO YOU, THEN CLICK ON THE ICON AND MANUALLY ADD IT.
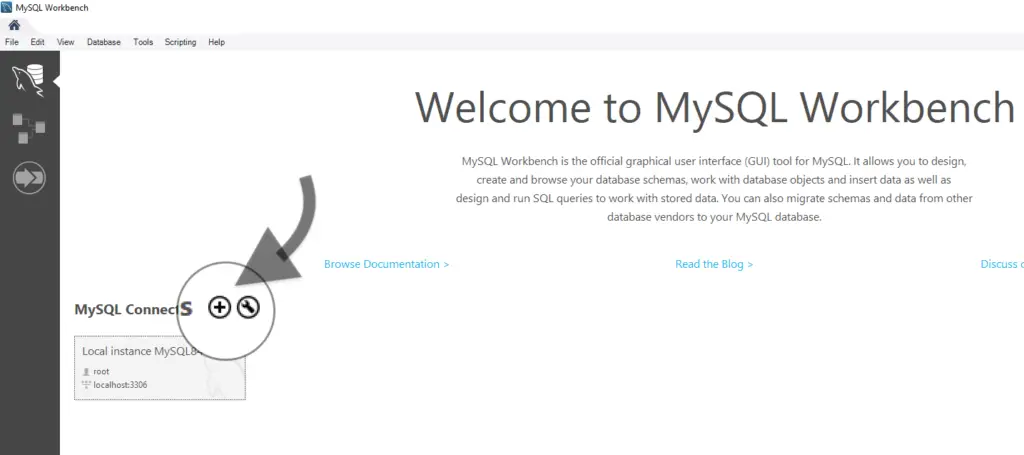
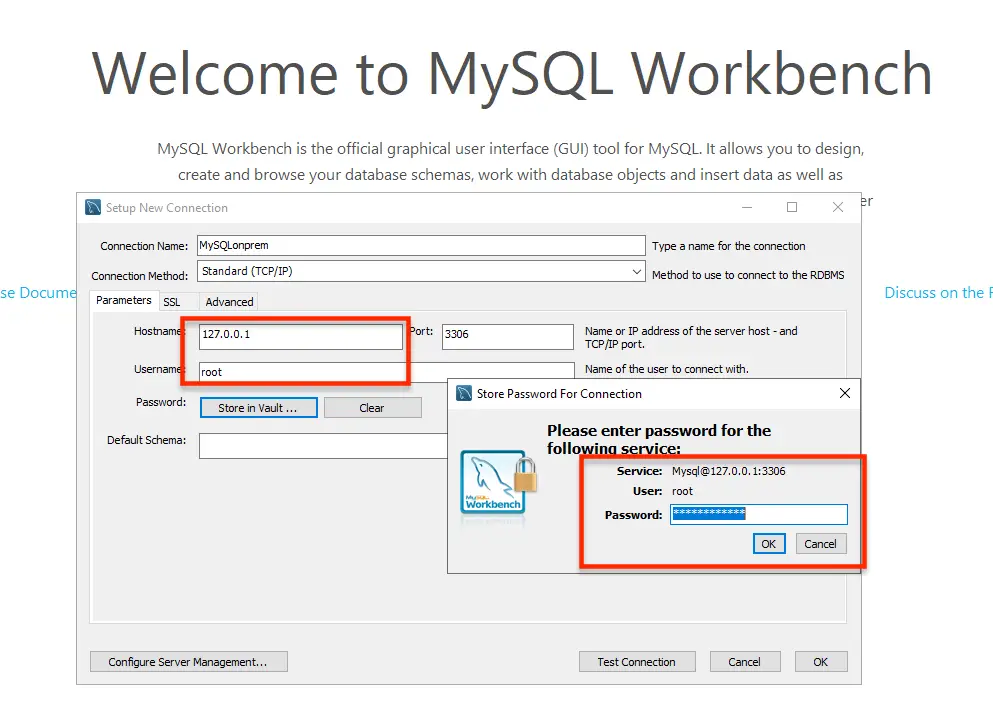
Step 6: If you add manually, then make sure you give the host name as 127.0.0.1 or you can also give localhost, make sure you provide the username as root because this is the default username when install my and give the password which you have used while installing MYSQL.
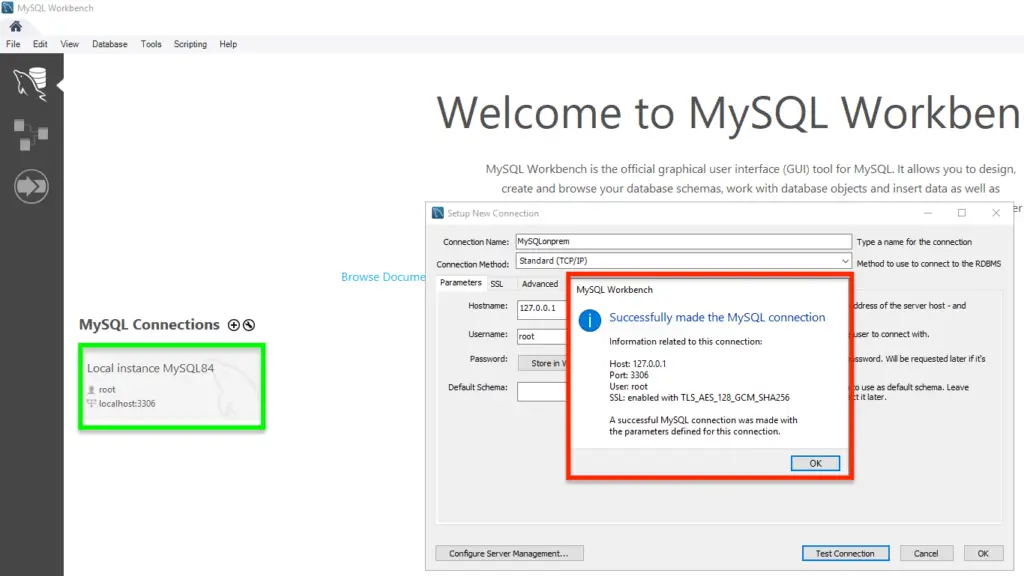
Step 7: If everything is correct and good, then you can see this message called successful. Made the connection Install MySQL. Now you can see your local instance and play with database..
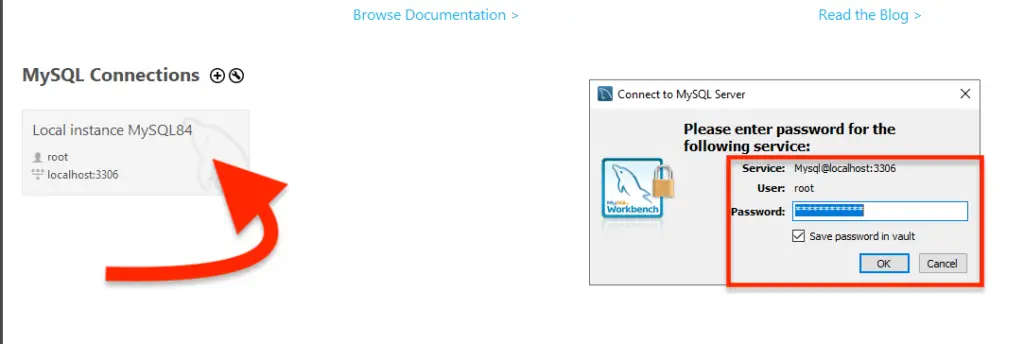
Step 8: Once you’re able to see this instance, click on Local instance, and it will ask you for password. Just give the password which you used while Install MySQL and click on OK.
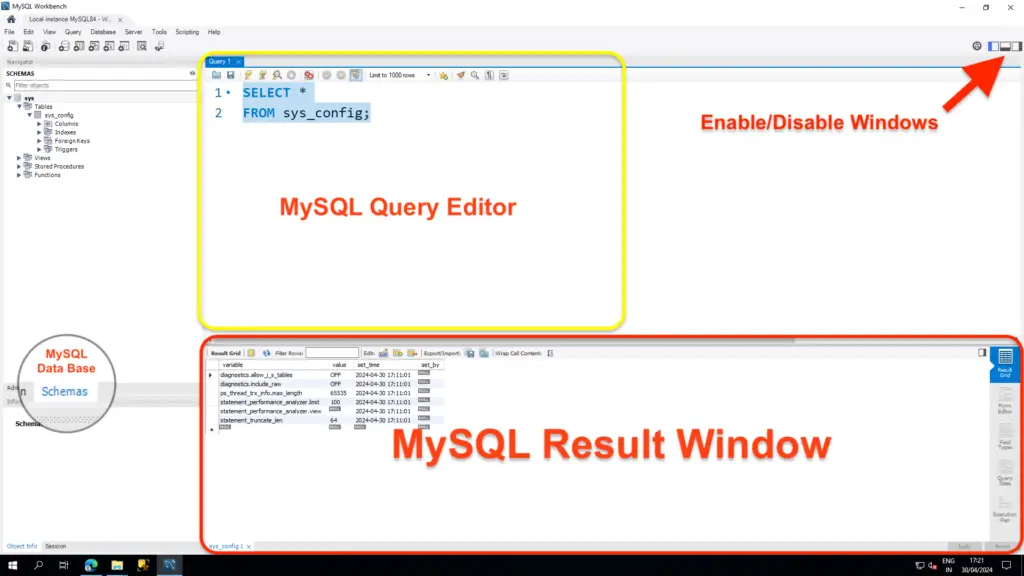
Step 9: As you can see, this is our homepage of equal work bench, and we have four different windows and each has been explained.
Watch Video!
Next Post>> #1.2) MySQL Install (Mac Machine)
