Install MySQL on Mac: We are going to see the download and installation of MySQL and MySQL Workbench on MAC machines; all the steps are shown below will give you clear idea on how to “MySQL Install” with clear explanation.
Download MySQL
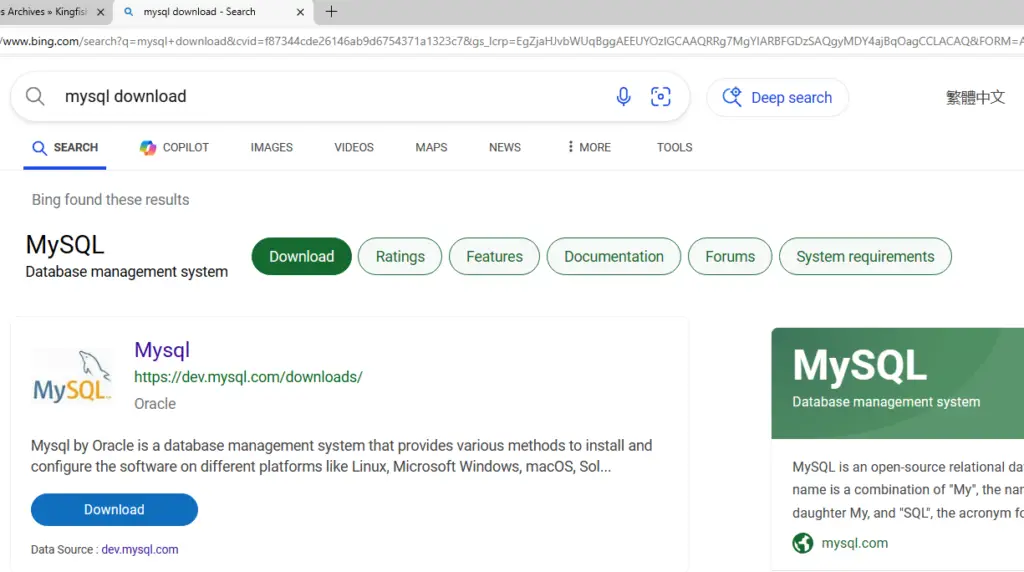
Step 1: Go to your search console and browse for “MySQL” you will see this below search results, click on the first link or you can directly click here!
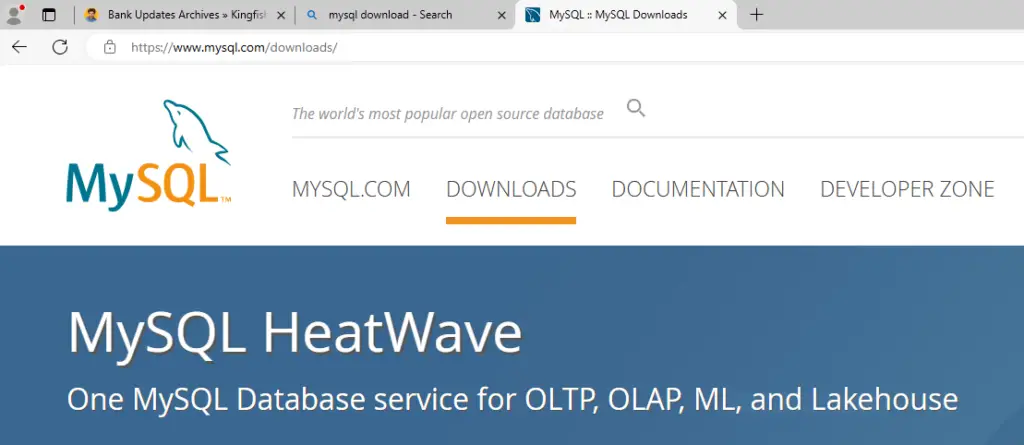
Step 2: If you have directly clicked on the link above then you will be re-directed to this page. Once the home page is loaded, click on the “DOWNLOAD” option from the menu bar.
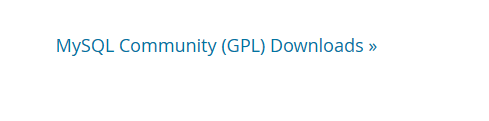
Step 3: Scroll down to the bottom of the download page and you will find “MySQL Community (GPL) Download“
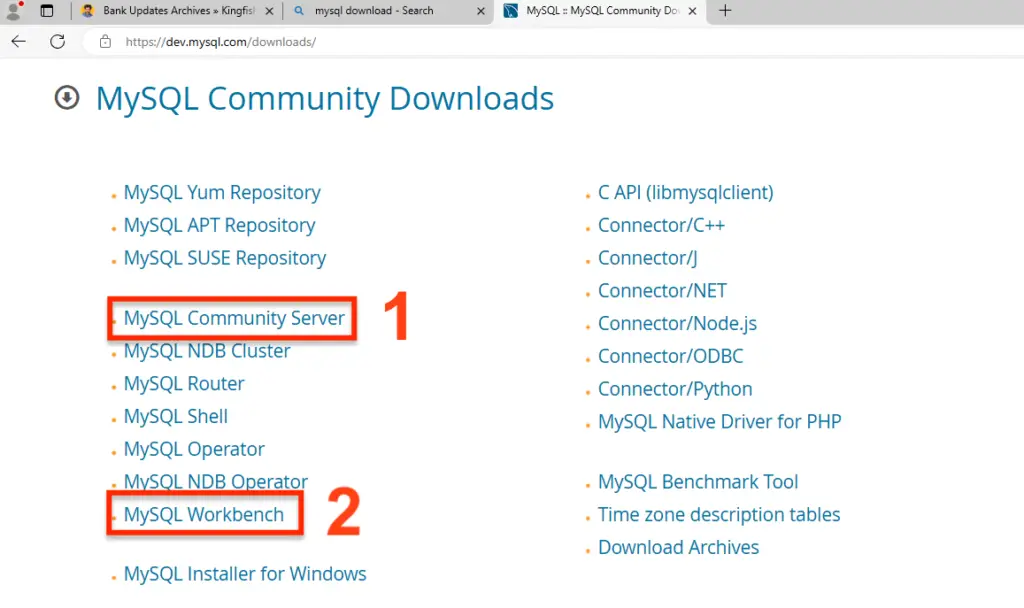
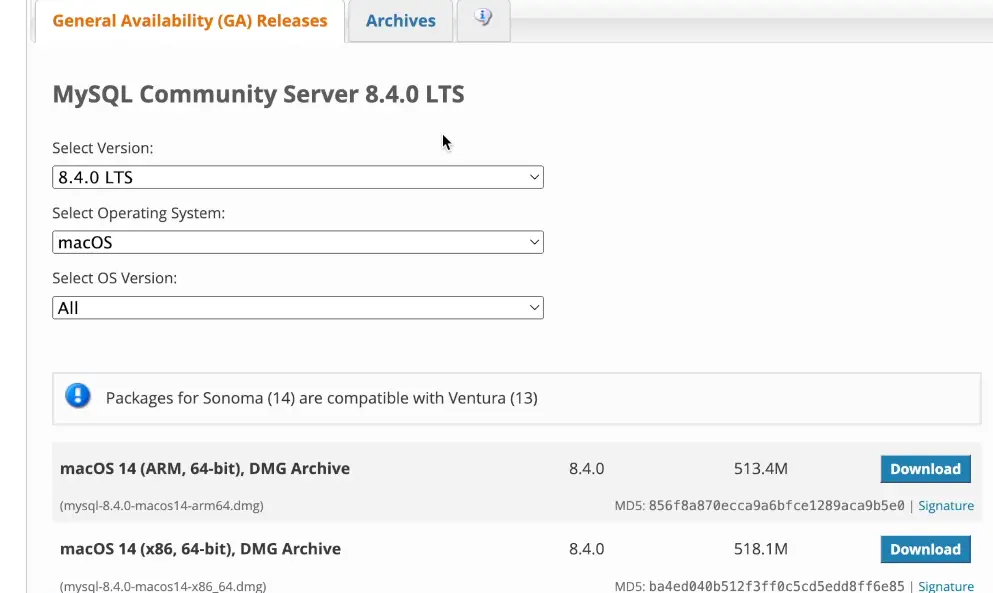
Step 4: Here, we have to download 2 things No.1 is MySQL Server and No.2 is MySQL Workbench. Click on 1st option and download the MySQL Server.
Step 5: On MySQL download page, everything will be auto selected to latest version, and you have to click on Download directly.
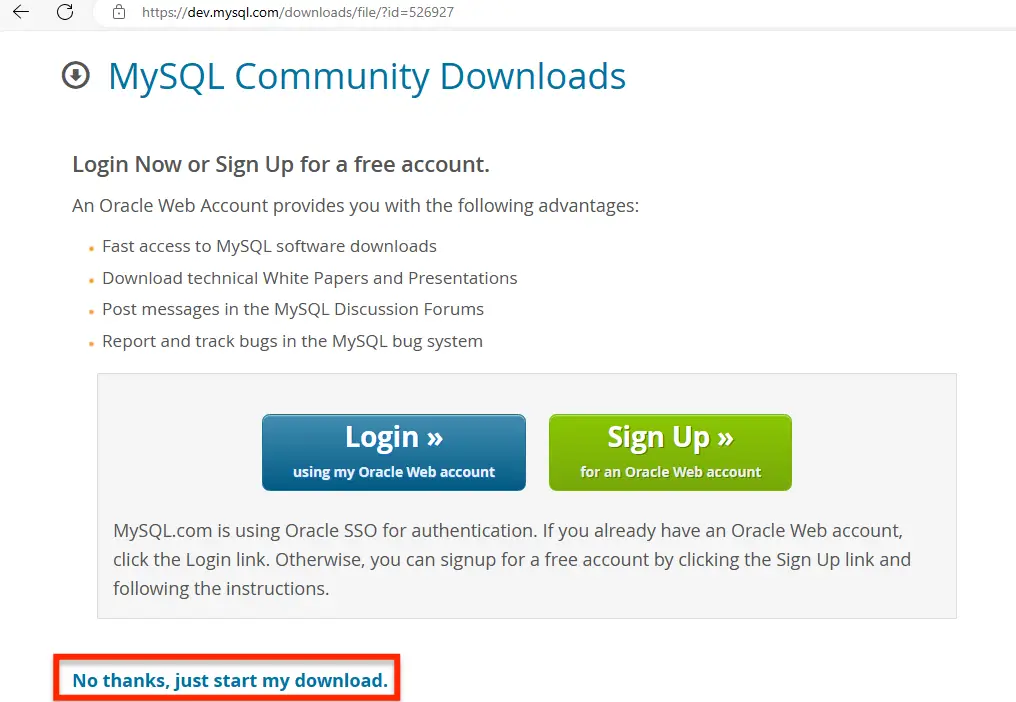
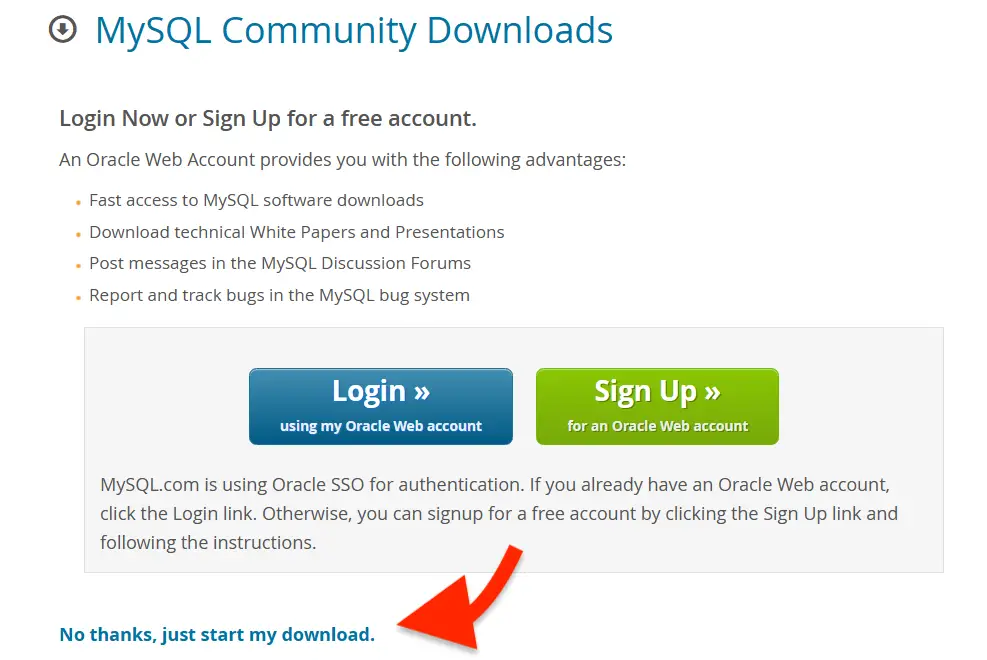
Step 6: Bottom of the page you can see SKIP option to leave the Sign-up page. Once you click the file will be downloaded and now, we will download the other file.
Download MySQL Workbench
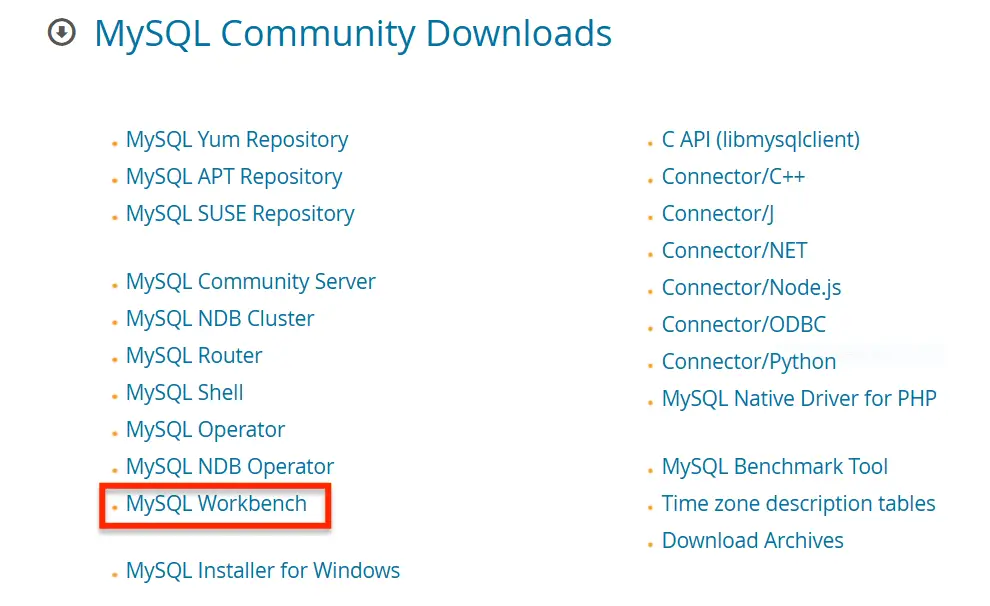
Step 1: Go back to MySQL community download page again and this time select the MySQL Workbench option, as highlighted in the below image.
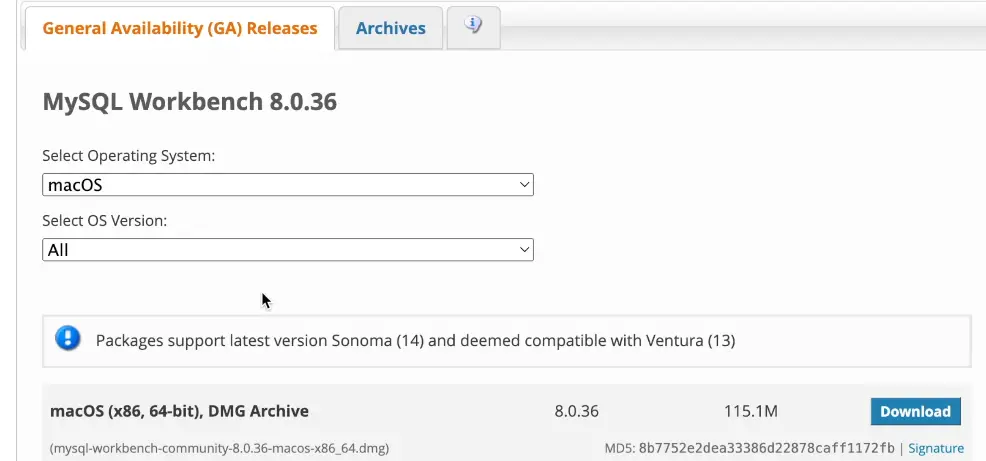
Step 2: By default, the latest version will be selected, click on download until unless you are looking for some other version.
Step 3: Bottom of the page you can see SKIP option to leave the Sign-up page. Once you click the file will be downloaded and now, we will download the other file.
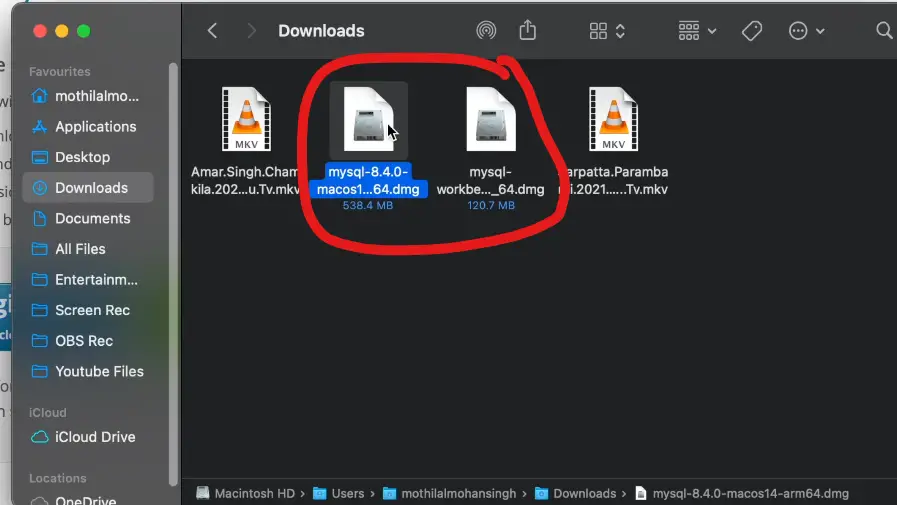
Now we have both the setup file ready with us and we will proceed further with the installation of MySQL Server and MySQL Workbench.
Install MySQL on Mac
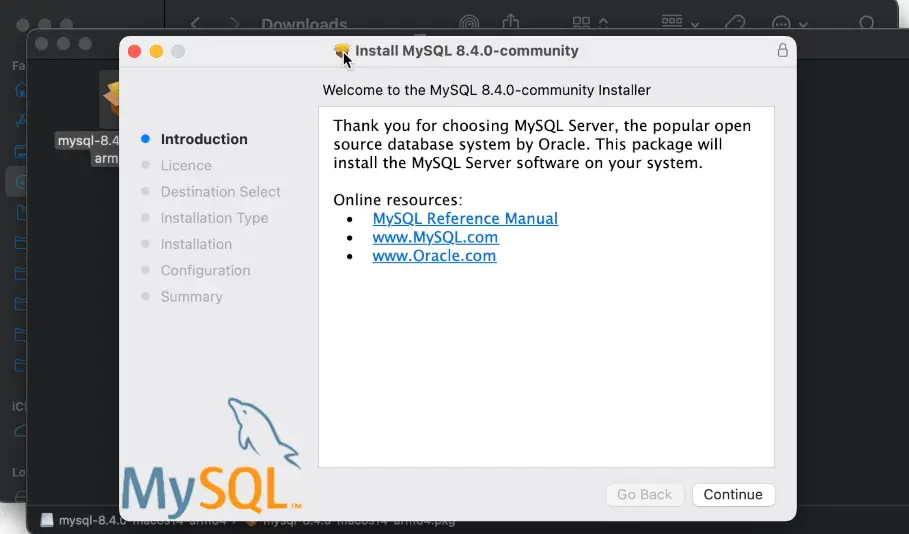
Step 1: Run the MySQL setup and agree to all terms and conditions and click on continue to proceed with the installation.
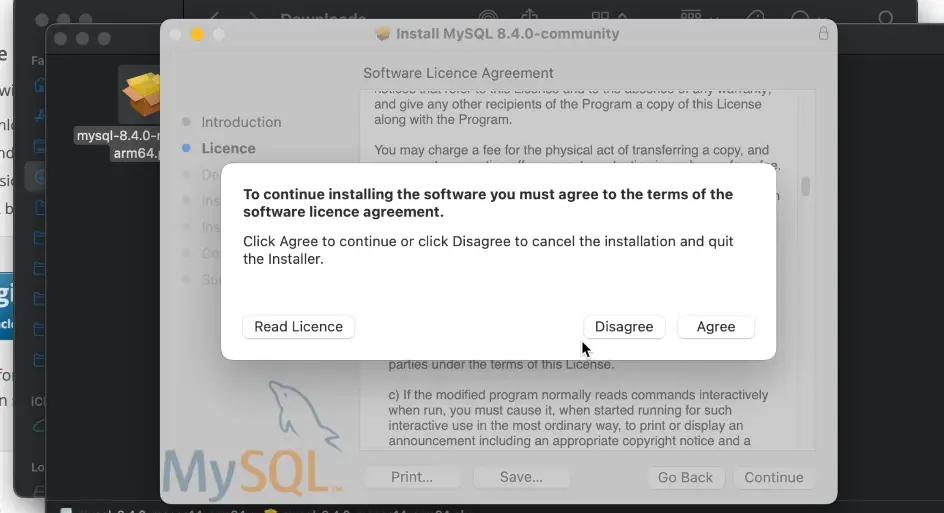
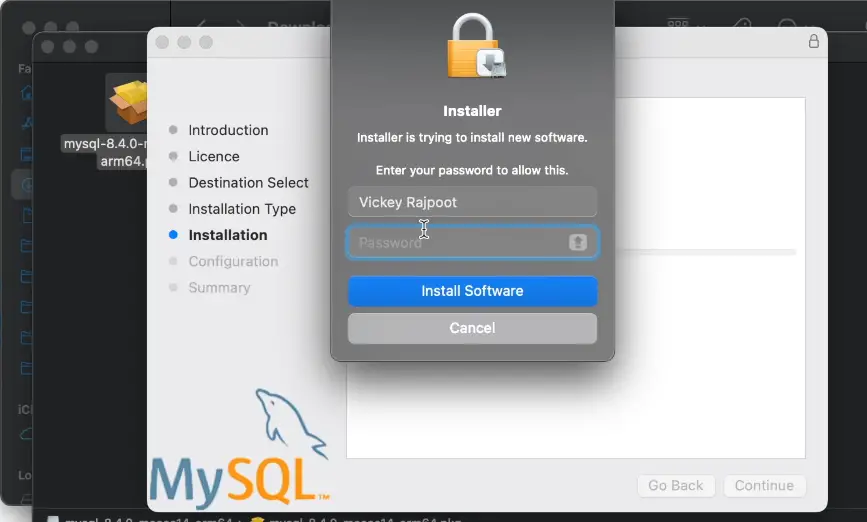
Step 2: Click agree and authenticate using mac credential each time the pop-up appears.
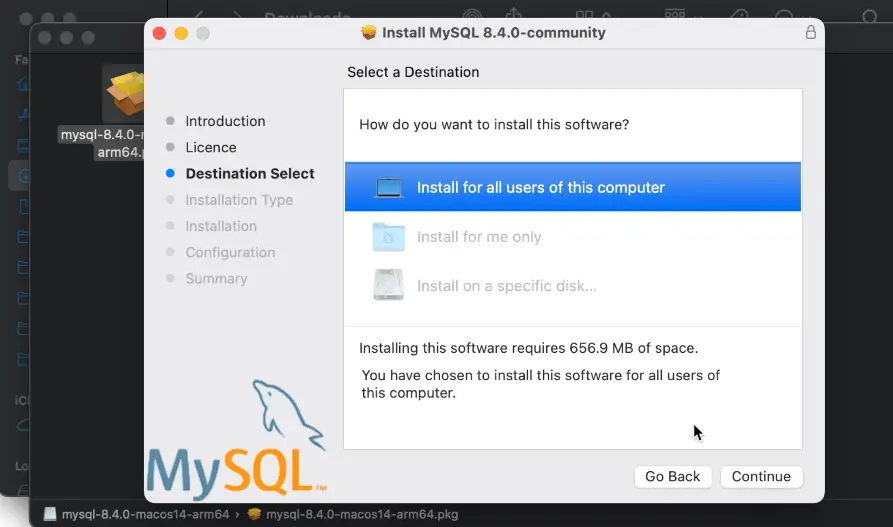
Step 3: In my case I have only MAC drive so I will use the default path to install, if you want to select other drive you can do it.
Step 4: Mac authentication pop-up will come to allow MySQL run in the backend and providing permission.
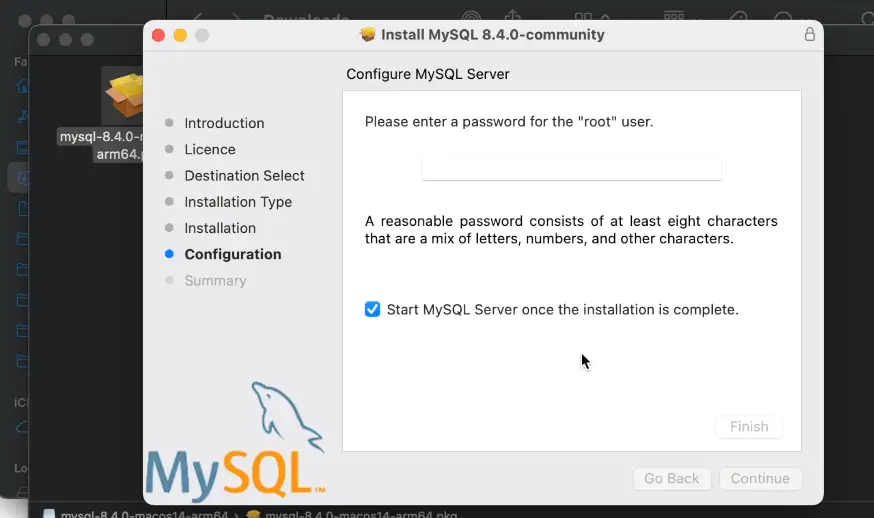
Step 5: Give “root” password for the MySQL server, this password will be used to login to MySQL from any application or terminal interaction.
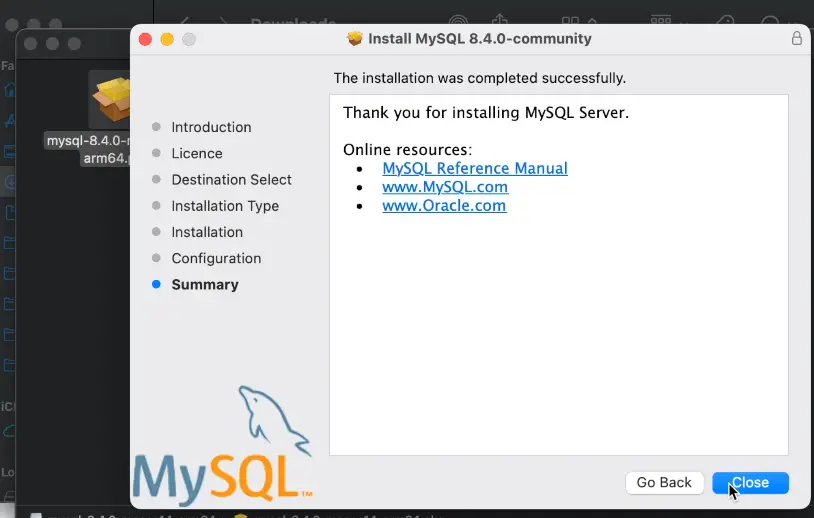
Step 6: The installation is successful, and we can click on close button.
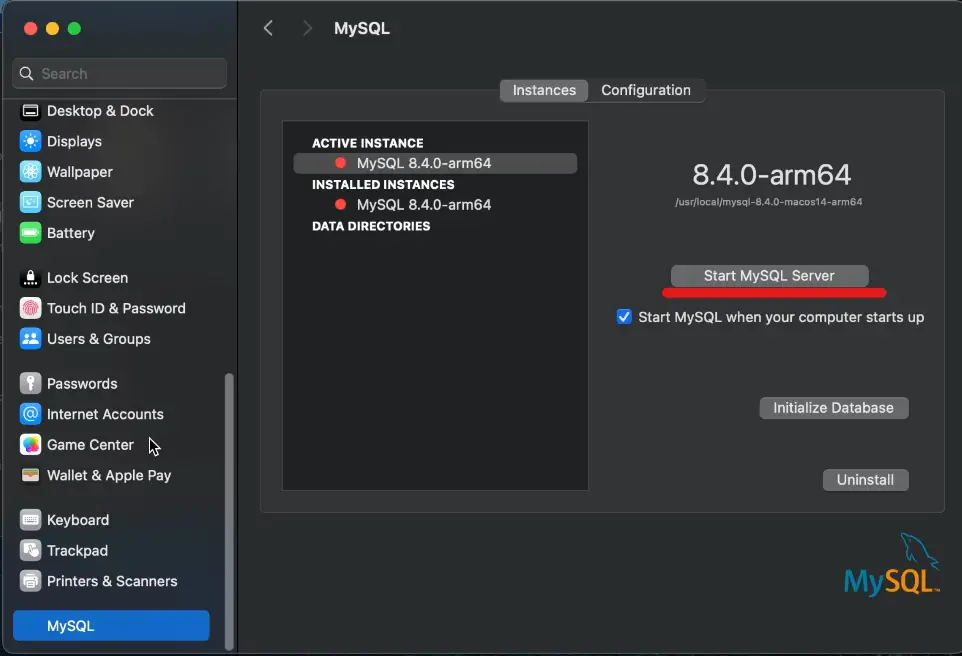
Step 7: The instance name MySQL will be present in the left PAN of your setting page, make sure to enable/start it by clicking on the highlighted portion.
Install MySQL Workbench
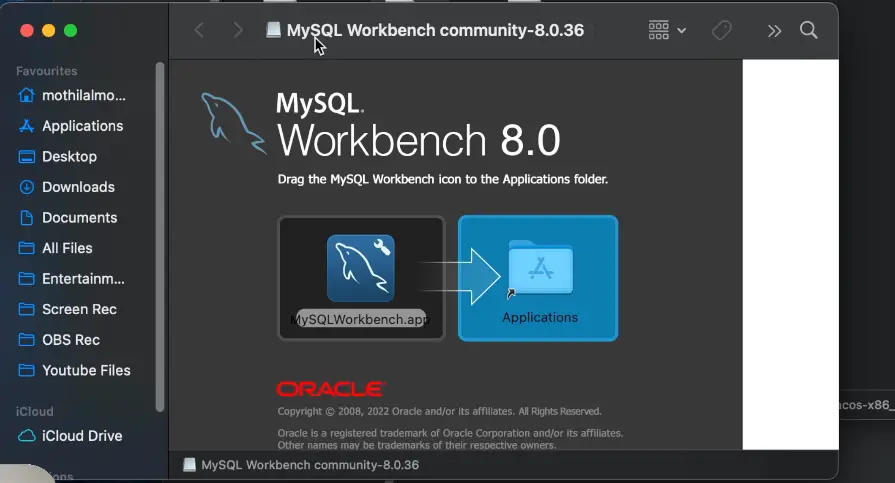
Step 1: Open the download location path of MySQL workbench and run the setup file by dragging in to applications. Once done the application will be in your mac application panel, you can directly open it.
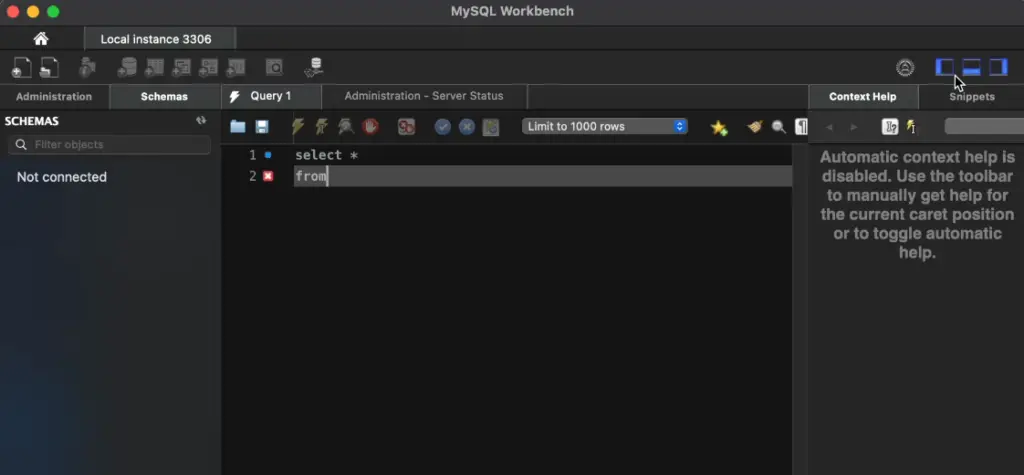
Step 2: This will be the interface of MySQL workbench and the first time you open it you will find the connection of MySQL automatically if not? check the MySQL server status. Also, you can add it manually by clicking on + icon.

Step 3: This is playground of MySQL workbench and here we will interact will MySQL database to do all our tasks such as select, insert, copy and other SQL commands as well!
The good part about my sequel workbench when it comes to MacBook is pretty good because we can see dark mode option in my bench if we install for Mac.
Watch Video!
Next Post>> #1.3) Install Azure Data Studio
